Bondo Bay
 Two hours applying fake raised panels to cheap doors – frames, like picture frames but without the cutout for art. Same job as I did my first day, but was better at it this go.
An hour hand-sanding the first coat of polyurethane on Dr. Gaily’s front door, overmuch in parts where I injured the underlying stain. Repaired, but I know not to his satisfaction by The Big Man.
Some down time until I was put in charge on bondo in the crevice between to solid core doors joined to make a 5 foot wide pocket door.
Jim was a bit more open and more himself about the place today, and even complimented me when I got the bondo sanding to his satisfaction.
6 24 –
Bondo Man can report utter frustration with slathering on, sanding off. The educated fingers of Jim always, always find molecule sized inconsistencies between the door surface and the dips I’ve created by trying to sand off the FORMER smear of Bondo.
6-25 –
More Bondo, More sanding. But I’ve reached the point in the endeavor when the Magic Fingers of both Jim and Tom no longer feel the subatomic width of the nano-ripples because the doors have been here for three days and it’s time to put on the veneer.
Applying veneer – I witness a graduate-level education.
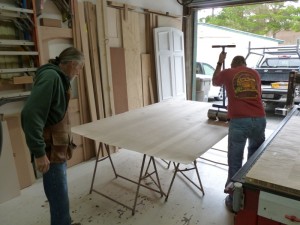
Since the doors are 60” wide and the roll of veneer 48” strips from one must be cut to fill out the face (each side) of the door.
This is done on 10’ long straight edge with a trim router – any edge where the veneer will butt.
Dry fit is next.
Next next is to to pour contact cement onto both the door and the upended veneer, then take paint rollers to coat the surfaces.
Once tacky (about 15 minutes) we (I) lay lath (sticks) on the door to one side on which we gently lay the 48” veneer, and then gently tap down the edge not on the sticks and then I, on command, withdraw the sticks 6” as the veneer is hand-smooth to the door surface.
Once the full sheet is down, comes the challenging part – addressing the 14” strip to the edge of the full strip.
Dicey.
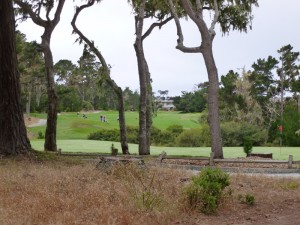
Lunch overlooking the 12th Hole of Spanish Bay – many, many mulligans.
The rest of the day was anticlimactic, although I did get to use the under-frame stapler, and put a first coat of urethane to the Kampe door.
Much standing around watching Jim The Window Making Machine, trying to absorb his …. His …. Anything.
6 26
Door urethane – Kampe – helping with contact cement on a long wooden tray, and finally, a break through with Jim. He admitted what I already knew: that he didn’t want to be here, and he’s no teacher. I refuted this by saying he was teaching me just by allowing me to watch. Said he didn’t like anyone standing behind him watching. Told him I’d stand in front.
After lunch (Asilomar) Jim let me size the window headers and side frames, and even let me use a trim router. And later without adult supervision!
6 27 –
An unexpected day.
Expected to put coat #2 of urethane to the Kampe Door, and I did.
Did not expect that Jim would call in their ace painter to give me a tutorial on the spray gun.
He did, but not with much words, but with showing.
Thin the primer. Loose, but not watery.
Spray thin, move slow, give the wood multiple passes.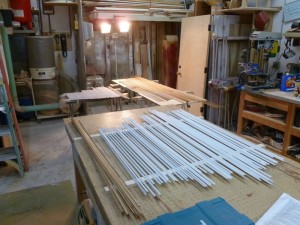
I get it.
And I got it good.
7.689 hours of spray, release, spray, move along, spray.
This on the window frames. And this is a good thing. Imagine trying to brush, brush, brush (as the painters once the windows are installed into the reno 950 14th Street will have to do…) every surface on these frames.
While I am very excited to be tested out on the Hometek paint (and urethane and whatever) sprayer, by 1:47 this Fridslack afternoon, I am getting weary of spray, duck, spray, return, crouch, lean, shift spray.
I’m head down in the spray cockpit don’t think I’m getting paid enough to ogle the arrival of the Boss’s new CNC which I drove to Campbell this day to collect for $4500.
It’s deposited on the pavement right outside the roll up door. Boss man is off to Salinas (poor sod) to return the truck whist Jim and sheath it in tarps.
Quiting time comes late, and I’m too late to avoid the Lighthouse lockdown and so postpone the check deposit and provisioning envision.
Home and The Prof arrives.
Philosophy is unconfined.
6 30 –
Priming, more priming, and then more more priming.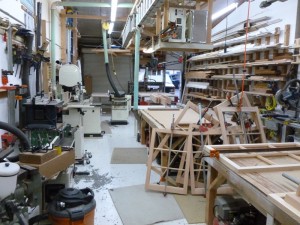
Morning went quickly, even had a field trip to Kelly Moore for more primer.
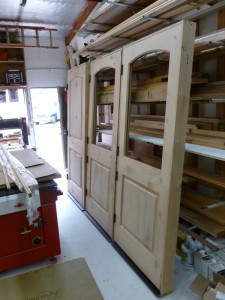
Jim the Machine finished the window frames, no hardware, so cannot install windows in frames.
I lay out how much sticking we’ll need to install the panes. It’s about 2/3’ds of a football field.
Only one gun jam, which Jim cleared by jiggling one of the knobs on the gun.
Home to rout out the shape for Claire’s door, sand, repair, sand, repair, and then stain without wiping off. If the color holds, it’ll be good enough.
7 1 –
8 hours of spraying primer on 300 tiny triangular in cross-section sticks. And they are called Sticking. They are the little slats that hold the glass panes into the mullions.
Even though I was wearing an aerosol filter, still came home coughing.
7 2 –
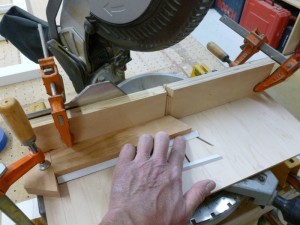 All day running the chop saw fitting those sticks into the windows. No glass yet, so they were taped in. Vastly overestimated the linear feet needed and so apologized to Jim, who cut it all. The end of the day was a mischegas of a half dozen doors arriving with the wrong parts and Tom trying to figure it all out.
Nackered, provision at TJ’s, then am on station to deliver the repaired Claire Chair.
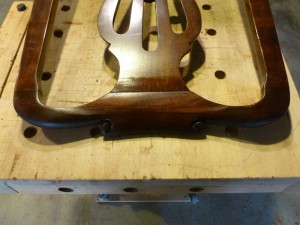 She’s so happy with the job I earn a $50 tip. Splices the Main Brace.
7 3
Yesterday afternoon’s door conundrum was no better solved this AM than it was yesterslack. The issue seems to be – and Hometek is charged ONLY with fitting the door sills to the existing door and jamb(s) – the end height of the assembled jamb.
Jim and I stand idle for an hour while Tom The Boss and Steve the Hayward Salesman work over the plans.
The plans, which I glommed, for a manse out Carmel Valley for the Nelson’s. Figure 7 figures for a house built upon the old Spanish open courtyard config, in this case a U shape.
When we finally get the Green light to merge sill with jamb Jim transforms from a frustrated bitcher into a methodical machine. I’m trying to be the OR nurse who knows what’s next in the operation and what tool to have ready. And by the second (of five) doors, I do.
This exercise is the first time Jim and I have worked hand-in-glove, and I don’t get ding-donged more than a couple of times.
And the door delivery provided enough lengths of pine packing that, once properly massaged, might form the back and seat of the Barrel Stave Rocker I am to build for The Prof.
End Of Day the doors are ready, and I spend the later part of the afternoon working (helping) the Boss dissect the control console for his new CNC. We’re only installing fresh gasket to keep dust out of the CPU. In the process I lose a screwdriver tip into the bowels. My worse dick up to date, but I’m not fired.
Yet.
4THDAY –
Although extensive ramming around was inked in for the AM, resolved to push it all to the morrow, and so, after brunch, was well poised to start on the Barrel Stave Rocker.
Thanks to the pine from Hometek, I have enough for the back and seat.
My joiner needs help, sitting forlornly on the Slack Deck under an improper cover, or just sitting on the deck at all, has rendered the infeed and outfeed tables rusty, and likely the blades are dull. This is less than conjecture and more of a direct observation as the pine came out sniped and snarky.
Much hand planing necessary, which I don’t mind; what I do mind is that I have a power tool that is supposed to do the job. It needs more TLC than I’ve given it.
Roughed out some grape stakes intending to use them for the chair legs and structure, but may re-think during the Midnight Study Hall.
Cut for biscuits on pine back and seat and glued up the back.
5THDAY –
Off, O’boom buying, check depositing. Line too long at Not Jiffy Lube, spurved off but on a whim, visited Wildman. He feels good, all except his leg. Surgery consultation Tuesday.
Smart & Final for normal mustard, then Grocery Cheaplet where the pickles are ON.
One more stop at Ka-nob Hill for Palermo rolls and gracknoids of opportunity.
The Chair: unclamped the chair back, clamped up the chair seat. Rendered down two steps for chair legs and frame. Hard, hard fir, if fir it be.
Athwart comes The Prof and approves of the rasty, rustic fir.
Next, rocker end tenons on the legs. Slow going, inconsistencies, much re-work.
Arrives again The Prof with aromatic cedar: How about obviate 5 hours work and use these unmilled boards for the seat and back. I don’t think I gently dissuaded him, but dissuaded him I did.
Back to the tenons, fine tuning, and actual scalloping.
Nuf.
Evening. Can’t see six blocks (and here in the former Methodist Colony, six blocks is about 18 NY blocks) and it’s not because I ain’t lookin’. Mid-summer gloom wafting past like the Valkyries; but quietly.
SDAY –
Laptop computer on one moment, muerto the next. The trick of removing and replacing the battery, which as worked the last two times this has occurred, did not this time. Marvelous.
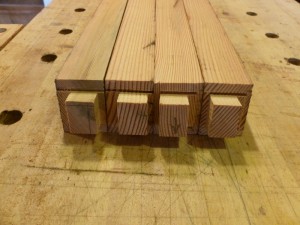
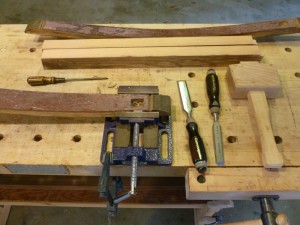 Nothing for it but down to The Shop for mortising: The barrel stave/rocker leg connection. Since there are only four of them, use a forsner bit in the drill press and then chip out the dross with chisels, the old fashioned method tried and true.
Next: dry fit the legs and then form the connecting cross piece. Once this was done it was drill for pocket holes underneath the cross piece and lam it home, then glue up the leg/cross piece to the barrel stave.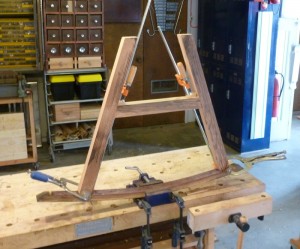
This is the most arduous event in the making of this chair, the next most taxing event will be the cross piece spanning the barrel staves.
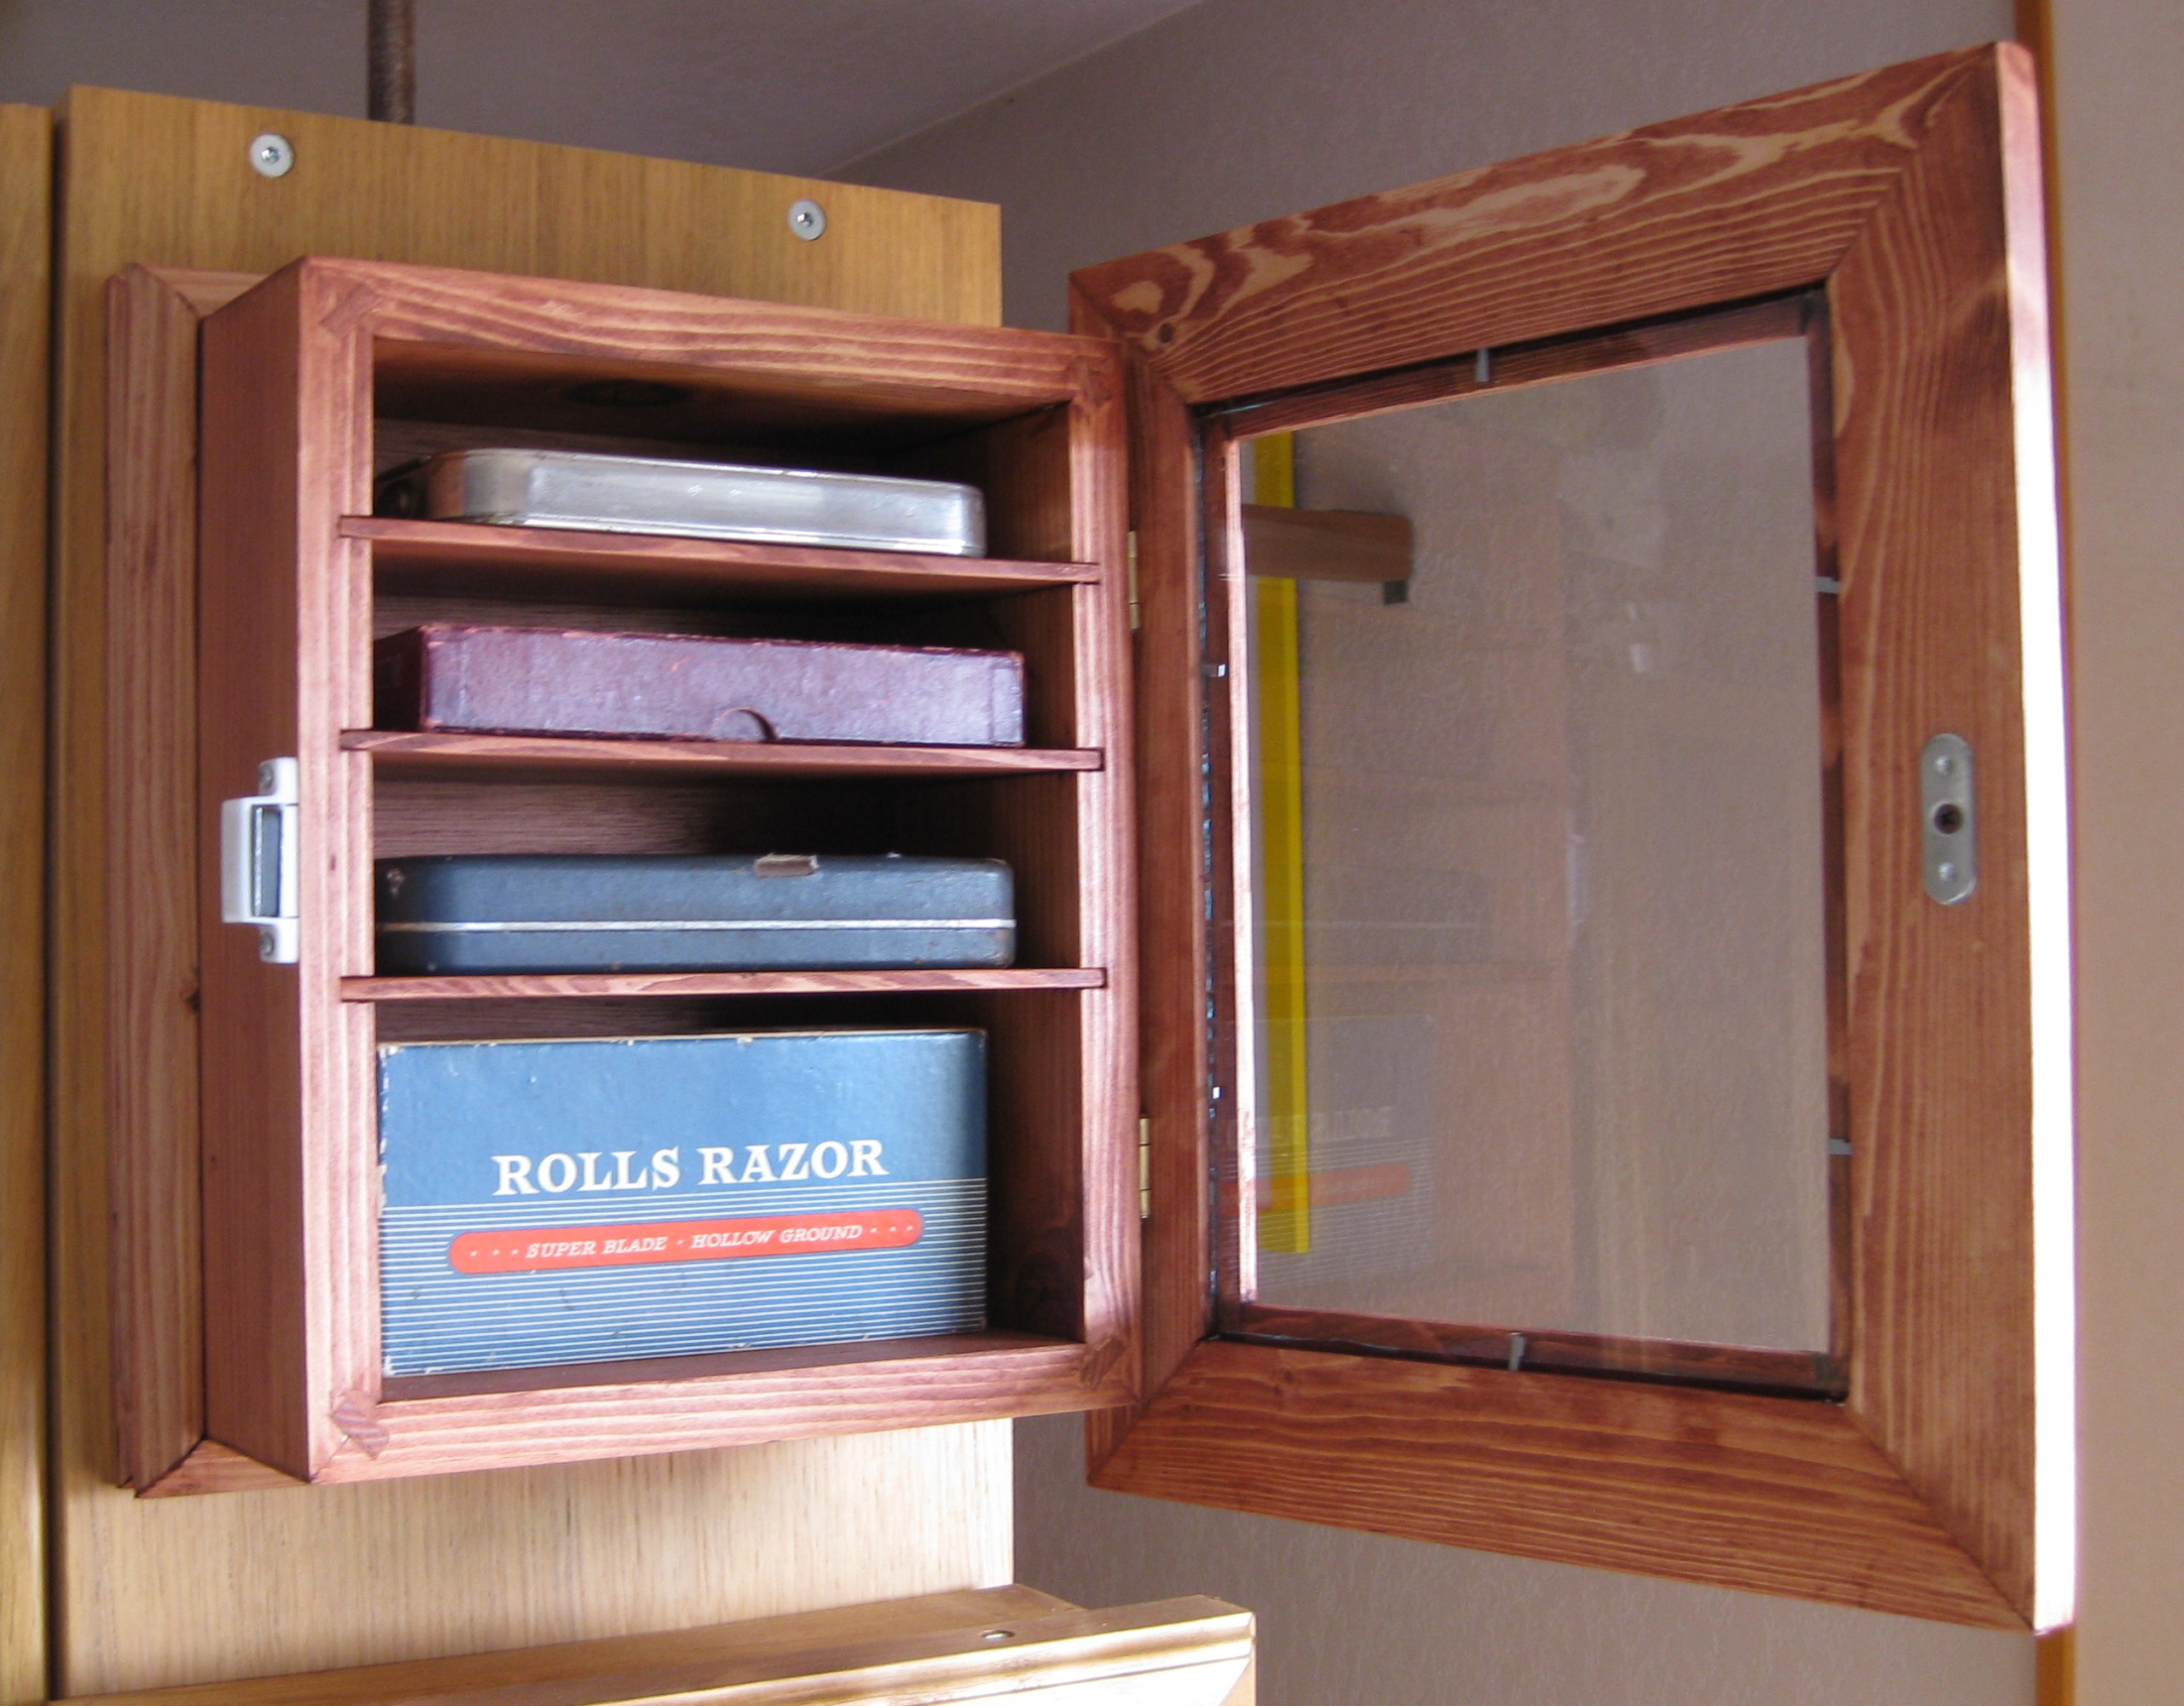
 Tiny Display Case
  Vadim’s Curio Case
  Uncle David’s Rocker
No comments yet.